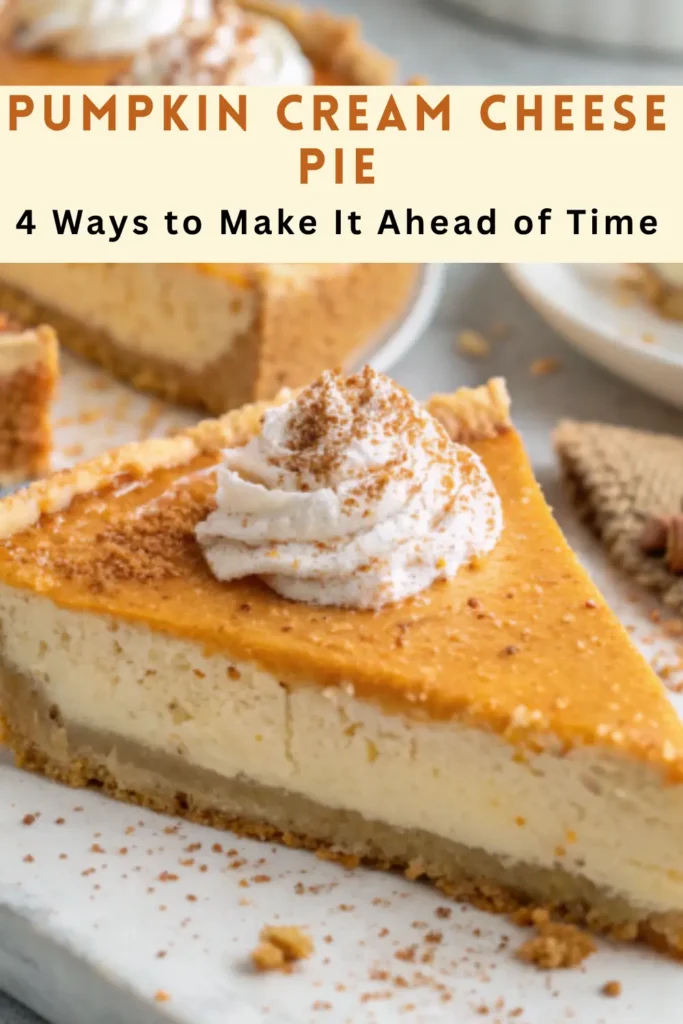
Picture this: It’s Thanksgiving morning. The turkey’s prepped, the table’s set, and instead of frantically whisking filling or wrestling with a soggy crust you open the fridge and pull out a perfectly chilled pumpkin cream cheese pie. Creamy, spiced, dreamy… and already done.
Sounds too good to be true? It’s not! With a little smart planning, your pumpkin cream cheese pie can be ready days before the big event without losing an ounce of flavor or texture.
- For mor rcipes Follow me in Facebook
- mor, full racipes Pumpkin Spice Cake
Why This Pumpkin Cream Cheese Pie Is a Game-Changer
This isn’t your grandma’s pumpkin pie (though she’d love it). Our pumpkin cream cheese pie layers rich, velvety cream cheese filling under a classic spiced pumpkin layer creating a marbled masterpiece that’s extra creamy, extra decadent, and just a little bit magical.
- Prep time: 25 minutes
- Chill time: 4+ hours (or up to 3 days!)
- Difficulty: Easy even first-timers nail it
- Make-ahead friendly? Absolutely. In fact, it shines when made ahead!
The secret? Timing + technique. And today, we’re sharing four smart ways to do it so you can pick the method that fits your schedule.
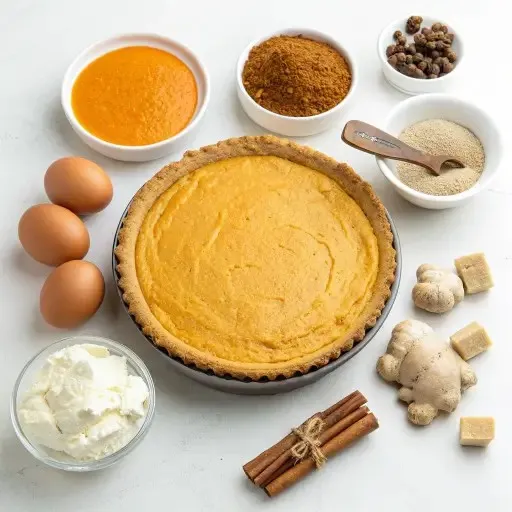
Essential Ingredients (and Why They Matter)
Here’s what you’ll need for the best pumpkin cream cheese pie. Don’t worry most of these are pantry staples!
For the Crust:
- 1 store-bought graham cracker or gingersnap crust (or homemade, if you’re feeling fancy!)
→ Why? Saves time and still delivers crunch and flavor.
Swap it: Use a traditional pie crust, gluten-free graham crust, or even an Oreo crust for extra chocolatey vibes.
For the Cream Cheese Layer:
- 8 oz cream cheese, softened
- ¼ cup granulated sugar
- 1 large egg
- 1 tsp vanilla extract
→ Why? This layer adds richness and a luscious, cheesecake-like texture. Softened cream cheese = smooth, lump-free filling.
For the Pumpkin Layer:
- 1 (15 oz) can pure pumpkin puree (NOT pumpkin pie filling!)
- ¾ cup brown sugar
- 2 large eggs
- 1 tsp cinnamon, ½ tsp ginger, ¼ tsp nutmeg, ¼ tsp cloves
- ½ tsp salt
- 1 (12 oz) can evaporated milk
→ Why? Evaporated milk (not sweetened condensed!) gives depth and creaminess without overpowering the spices.
Pro tip: Use room-temperature eggs they blend more smoothly and help avoid cracks.
Step-by-Step Instructions (Simple & Foolproof!)
Step 1: Prep Your Pan & Oven
- Preheat oven to 350°F (175°C).
- Place your crust on a baking sheet (this catches spills trust us!).
Step 2: Make the Cream Cheese Layer
- In a medium bowl, beat softened cream cheese and sugar until smooth (1–2 mins).
- Add egg and vanilla. Mix just until combined don’t overmix!
- Pour into crust and spread evenly. Tap the pan gently to release air bubbles.
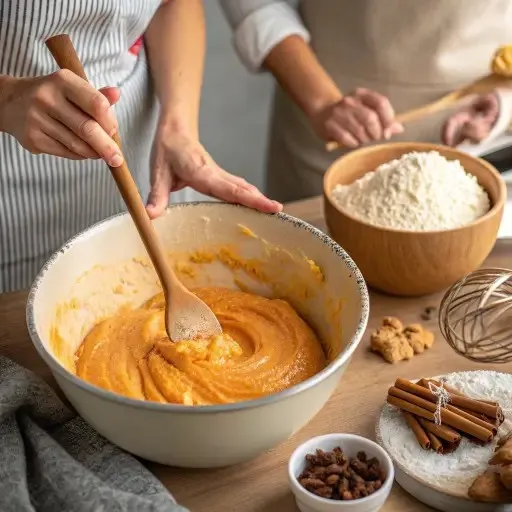
Step 3: Make the Pumpkin Layer
- In another bowl, whisk pumpkin, brown sugar, spices, and salt.
- Add eggs one at a time, mixing gently.
- Slowly stir in evaporated milk until smooth.
Step 4: Layer & Bake
- Gently pour the pumpkin mixture over the cream cheese layer.
- Bake for 50–60 minutes. The edges should be set, and the center slightly wobbly (like Jell-O).
- Cool completely on a wire rack (about 2 hours), then chill at least 4 hours (overnight is best!).
Baking Tip: To prevent cracks, avoid opening the oven during the first 45 minutes and let it cool gradually.
Assembly: Building Your Dream Pie
Here’s where the magic happens! The order of layers matters:
- Crust first → stable base.
- Cream cheese layer second → it’s denser and sinks less when pumpkin goes on top.
- Pumpkin layer last → it bakes into a smooth, golden top.
Presentation Pro Tips:
- Swirl the layers gently with a knife before baking for a marbled look.
- Top with whipped cream, caramel drizzle, toasted pecans, or a dusting of cinnamon.
- Serve with a warm mug of apple cider pure fall bliss!
Storage & Make-Ahead Tips: Your 4 Smart Strategies
Ready for the real secret? This pie loves being made ahead. Here are 4 foolproof ways to prep it in advance pick your perfect fit!
| METHOD | WHEN TO PREP | HOW LONG ITS LASTS | BEST BEFOR |
|---|---|---|---|
| 1. Fully Bake & Chill | 1–3 days ahead | Up to 5 days in fridge | Traditionalists who want itdone |
| 2. Par-Bake Crust + Prep Fillings | 1 day ahead | Fillings: 24 hrs in fridge | Control freaks who want fresh-baked taste |
| 3. Freeze After Baking | Up to 1 month ahead | Thaw overnight in fridge | Super planners & bulk bakers |
| 4. No-Bake Version | 1 day ahead | 4 days in fridge | Hot kitchens or oven shortages! |
Freezing Instructions: Wrap cooled pie tightly in plastic + foil. Thaw in fridge 8–12 hrs. Add toppings after thawing.
Reheating? Not needed! This pie is best served chilled or at room temp. If you must, warm slices 10 sec in microwave just to take the chill off.
Delicious Recipe Variations (Get Creative!)
Make it yours with these fun twists:
- Dairy-Free? Use vegan cream cheese + coconut milk (full-fat) in place of evaporated milk.
- Lower Sugar? Swap half the sugar for monk fruit or erythritol blend.
- Extra Zing: Add 1 tbsp bourbon or ½ tsp orange zest to the pumpkin layer.
- Chocolate Swirl: Melt ¼ cup chocolate chips, drizzle over cream cheese layer before adding pumpkin then swirl!
- Mini Pies: Use muffin tins + mini crusts. Bake 25–30 mins. Perfect for parties!
Fun Fact: Pumpkin is packed with vitamin A (hello, healthy eyes and skin!) and fiber so yes, dessert can be good for you.
Final Slice of Encouragement
Life’s too short for stressful desserts. Your pumpkin cream cheese pie doesn’t need last-minute chaos to shine it thrives with a little foresight.
So go ahead: bake it Tuesday for Sunday’s feast. Freeze two for December cookie swaps. Or whip up a no-bake version on a warm fall afternoon.
However you make it make it yours. Add a sprinkle, a swirl, or a dollop of joy. And when someone asks, “How did you make this so perfect?!” Just smile and say: “I made it ahead.”
You’ve got this. Now go make some pie magic!
FAQs: Your Top Questions Answered!
Q: Can I use pumpkin pie filling instead of pure pumpkin?
A: Not recommended! Pumpkin pie filling has added sugar and spices which throws off the balance. Stick with 100% pure pumpkin puree for best results.
Q: Why did my pie crack?
A: Overmixing, oven temp too high, or cooling too fast can cause cracks. Beat ingredients gently, bake at 350°F, and let it cool in the oven with the door slightly open for 30 mins.
Q: Is this pie gluten-free?
A: It can be! Just use a certified GF crust (many graham or ginger snaps are GF now). Check labels on cream cheese and evaporated milk, too.
Q: How do I know when it’s done baking?
A: The edges will be firm, and the center will jiggle slightly (like gelatin) when nudged. It sets fully as it cools.
Q: Can I leave it out overnight?
A: Nope! Because of the cream cheese and eggs, it must be refrigerated within 2 hours of cooling. Always store covered in the fridge.
Q: Can kids help make this?
A: Yes! Let them measure spices, stir fillings (with supervision), or decorate the top with whipped cream “clouds” and pecan “leaves.” Baking = bonding!