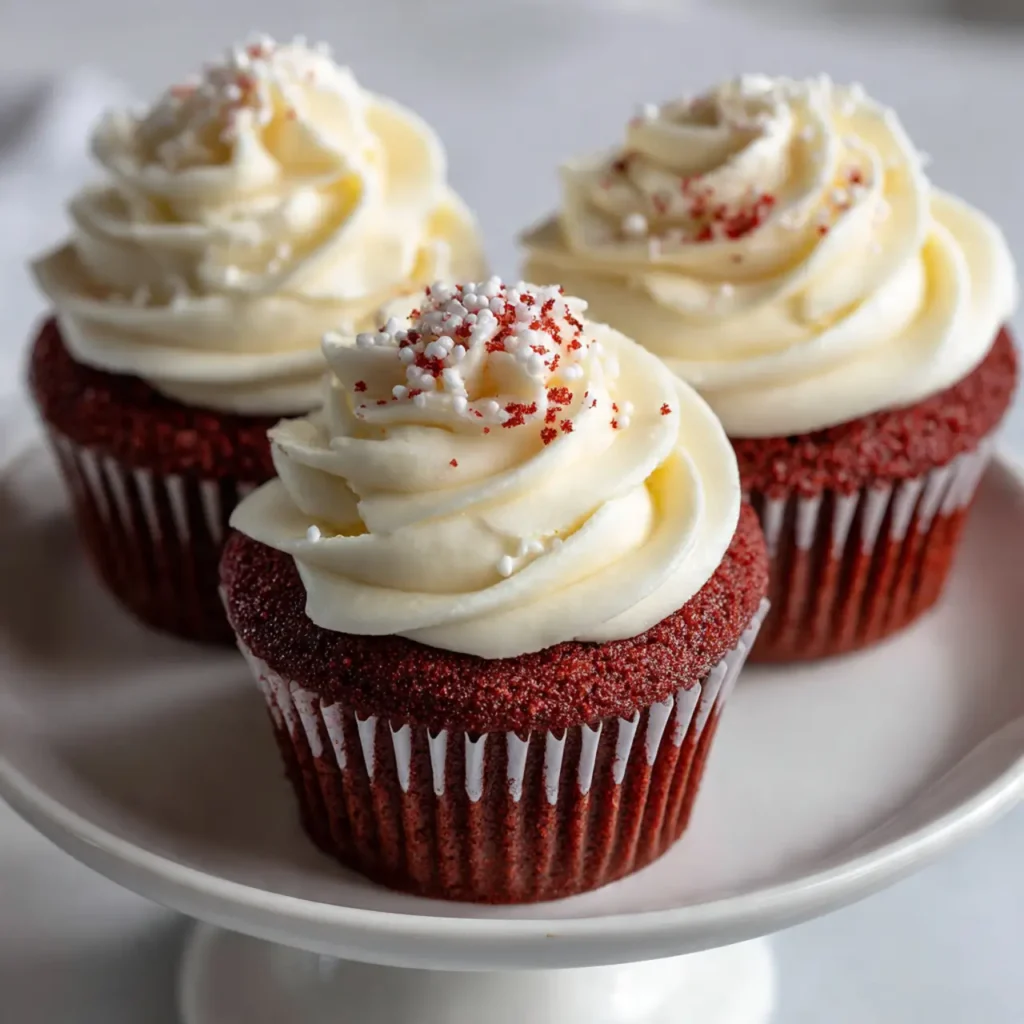
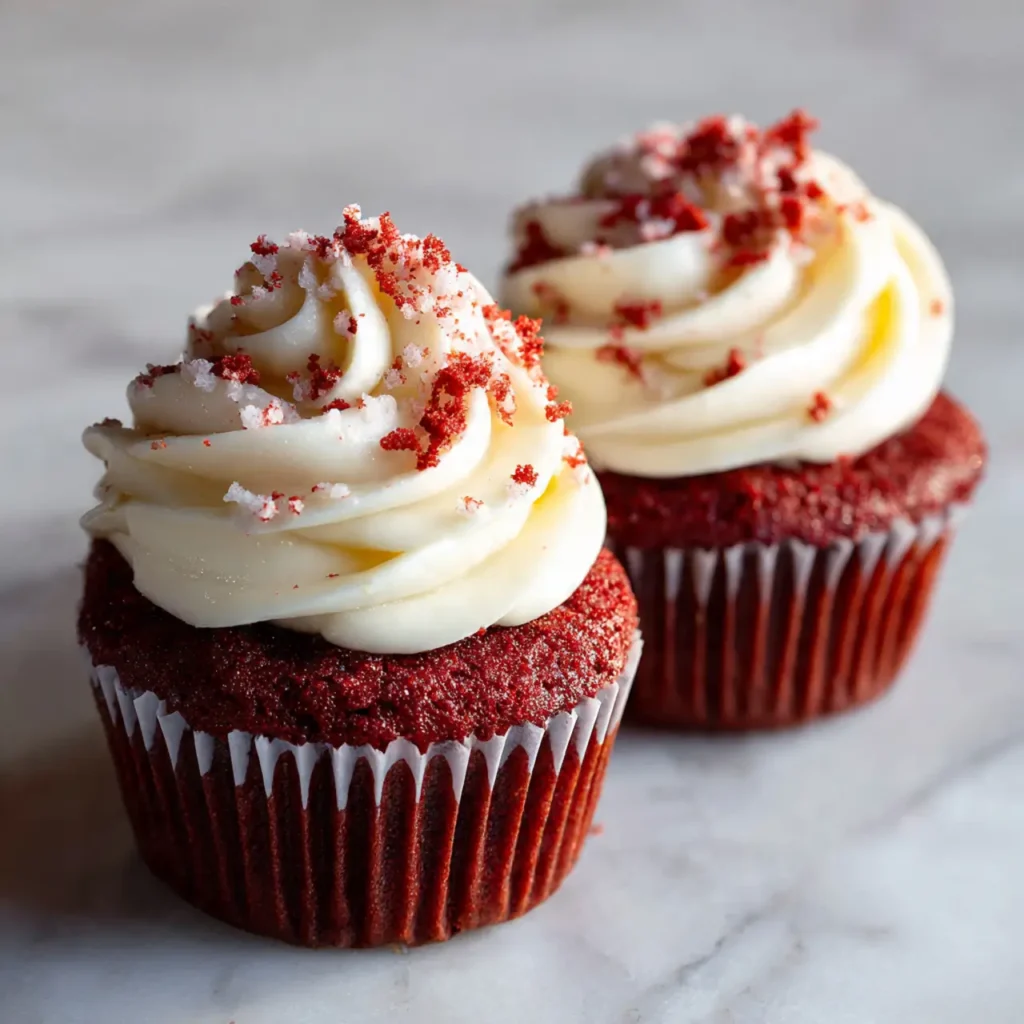
calssic Red velvet cupcakes are timeless. Their signature deep red color, velvety crumb, and smooth cream cheese frosting make them a classic choice for celebrations, parties, holidays, and anytime you want something special. Whether you’re preparing a batch for Valentine’s Day, a birthday party, a holiday dessert table, or simply craving a beautifully rich cupcake, this guide will walk you through making the perfect red velvet cupcakes every time.
This recipe delivers everything people love about real red velvet: a moist and tender texture, the subtle tang from buttermilk, the delicate cocoa notes, and a beautifully balanced frosting that’s sweet but not overwhelming. Using classic baking techniques and pantry staples, you can create bakery-style cupcakes right at home.
In this complete guide, you’ll find step-by-step instructions, troubleshooting tips, decorating ideas, serving suggestions, and helpful notes to ensure your cupcakes come out flawless. This is a versatile recipe you’ll return to again and again.
Why calssic Red velvet cupcakes Are the Ultimate Dessert
Red velvet cupcakes are popular for a reason. They strike the perfect balance between simple and special. The flavor is unique: not quite chocolate, not vanilla, but something wonderfully in-between with its slight cocoa flavor, tender crumb, and signature tanginess.
Their stunning red color also makes them ideal for themed occasions. They fit effortlessly into holiday dessert spreads, Valentine’s Day parties, bridal showers, birthdays, and any event where a pop of color matters. The cream cheese frosting adds richness, moisture, and the perfect sweet finish.
Red velvet cupcakes offer:
• A soft, velvety texture
• Balanced flavor that isn’t too sweet
• Beautiful presentation
• Wide appeal for all ages
• Endless decorating possibilities
They are impressive to serve but surprisingly simple to make. With the right technique, even beginners can achieve stunning, professional-looking cupcakes.
Essential Ingredients
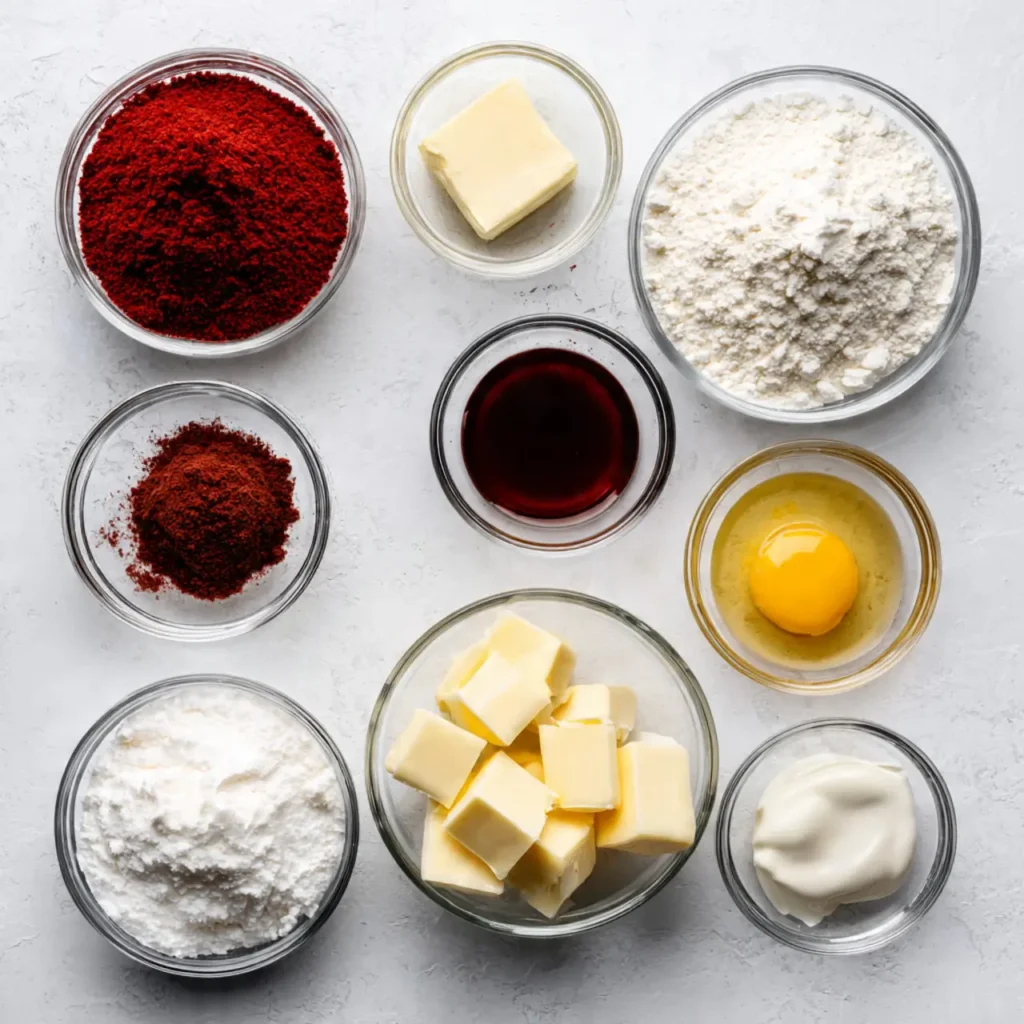
Making classic red velvet cupcakes requires a balance of acidity, fat, and flavor. Here are the ingredients you’ll need, with explanations for how each contributes to the final texture and taste.
Flour
Use all-purpose flour for structure without heaviness. It produces a cupcake that is soft yet sturdy enough to hold moisture.
Cocoa Powder
Only a small amount of natural cocoa powder is used, just enough to add a mild chocolate undertone and deepen the color.
Sugar
Granulated sugar ensures the cupcakes stay sweet, moist, and tender with a fine crumb.
Eggs
Act as binders, add structure, and help create a smooth, velvety texture.
Buttermilk
A signature ingredient in red velvet recipes. The acidity reacts with cocoa for flavor and creates a soft crumb. No buttermilk? Use milk plus lemon juice or vinegar.
Oil or Butter
Oil gives exceptional moisture. Butter gives rich flavor. Many bakers combine both, but oil alone creates the most reliably moist cupcake.
Vinegar
A classic component in authentic red velvet. It helps activate baking soda and enhances the velvety texture.
Baking Soda
Creates lift and ensures the cupcakes rise evenly.
Vanilla Extract
Balances sweetness and enhances the overall flavor.
Salt
Without it, cupcakes may taste flat. Salt lifts every flavor note.
Red Food Coloring
Gel or liquid coloring works, but gel gives the most intense color with the least amount needed.
Cream Cheese Frosting Ingredients
For a true red velvet experience, cream cheese frosting is essential. You’ll need:
• Softened cream cheese
• Unsalted butter
• Powdered sugar
• Vanilla extract
• Pinch of salt
This frosting should be silky, smooth, and pipeable.
Step-by-Step Baking Guide
Follow these detailed instructions for perfectly fluffy, moist, vibrant red velvet cupcakes.
Step 1: Prepare the Baking Equipment
Line your cupcake pan with sturdy liners. Avoid thin liners that may peel away after baking. Preheat the oven to 350°F (175°C).
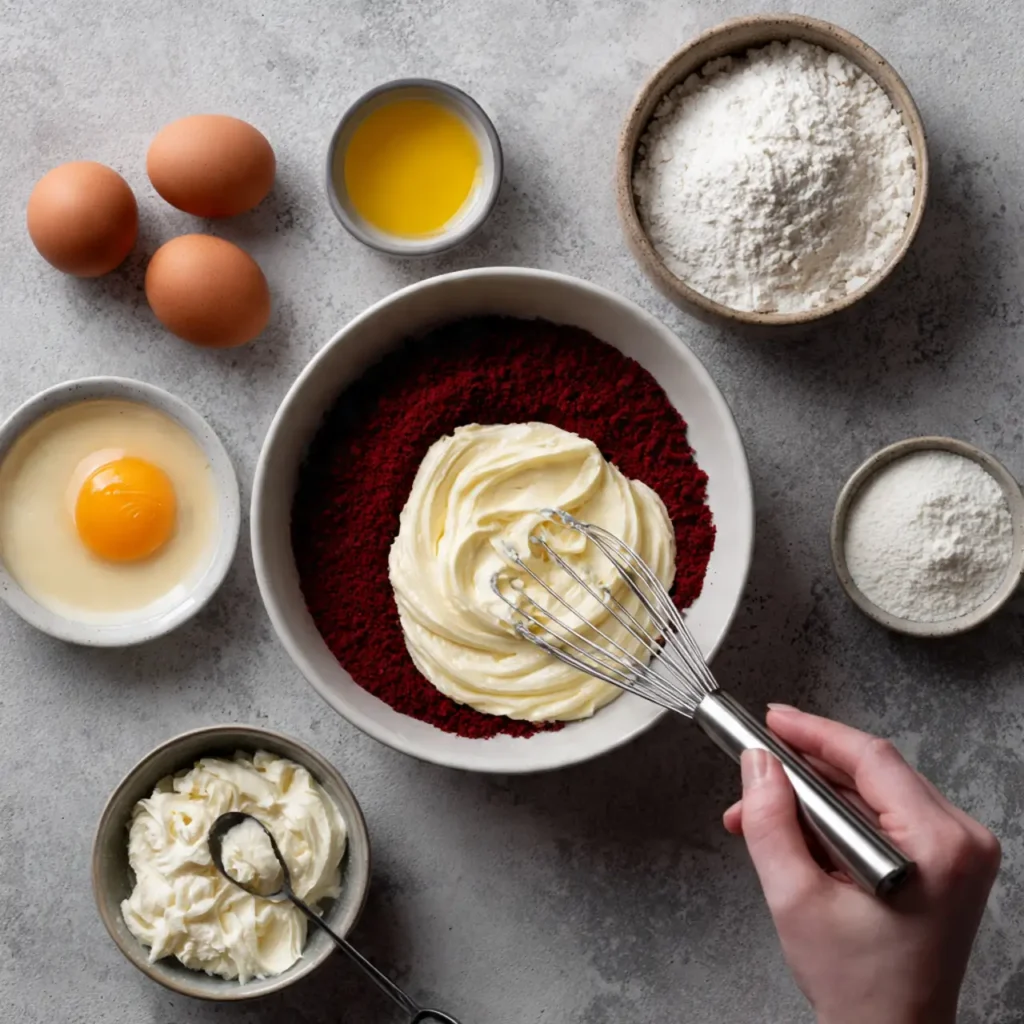
Step 2: Mix the Dry Ingredients
Whisk together flour, cocoa powder, baking soda, and salt. Mixing dry ingredients thoroughly prevents clumps and ensures even distribution throughout the batter.
Step 3: Combine Sugar and Wet Ingredients
In a mixing bowl, beat oil, sugar, eggs, and vanilla until smooth. Add buttermilk and vinegar, mixing just until combined.
Step 4: Add Red Coloring
Mix in red food coloring. Adjust the amount for your desired shade. The batter should be slightly deeper than the red you want in the baked cupcake.
Step 5: Combine Wet and Dry Mixtures
Add the dry ingredients to the wet mixture in two or three additions. Mix until just combined. Overmixing can create dense cupcakes, so stop as soon as you no longer see streaks of flour.
Step 6: Fill the Cupcake Liners
Fill each liner about two-thirds full. This allows for a rounded, domed top without overflowing.
Step 7: Bake
Bake for 16–20 minutes, depending on your oven. Insert a toothpick; if it comes out clean or with a few moist crumbs, the cupcakes are done. Overbaking can dry them out, so check early.
Step 8: Cool Completely
Let the cupcakes cool in the pan for 5 minutes, then transfer to a wire rack. Frosting warm cupcakes will cause melting, so patience is key.
Step 9: Prepare the Cream Cheese Frosting
Beat softened cream cheese and butter until completely smooth. Add powdered sugar gradually, followed by vanilla and a pinch of salt. Whip until light and fluffy.
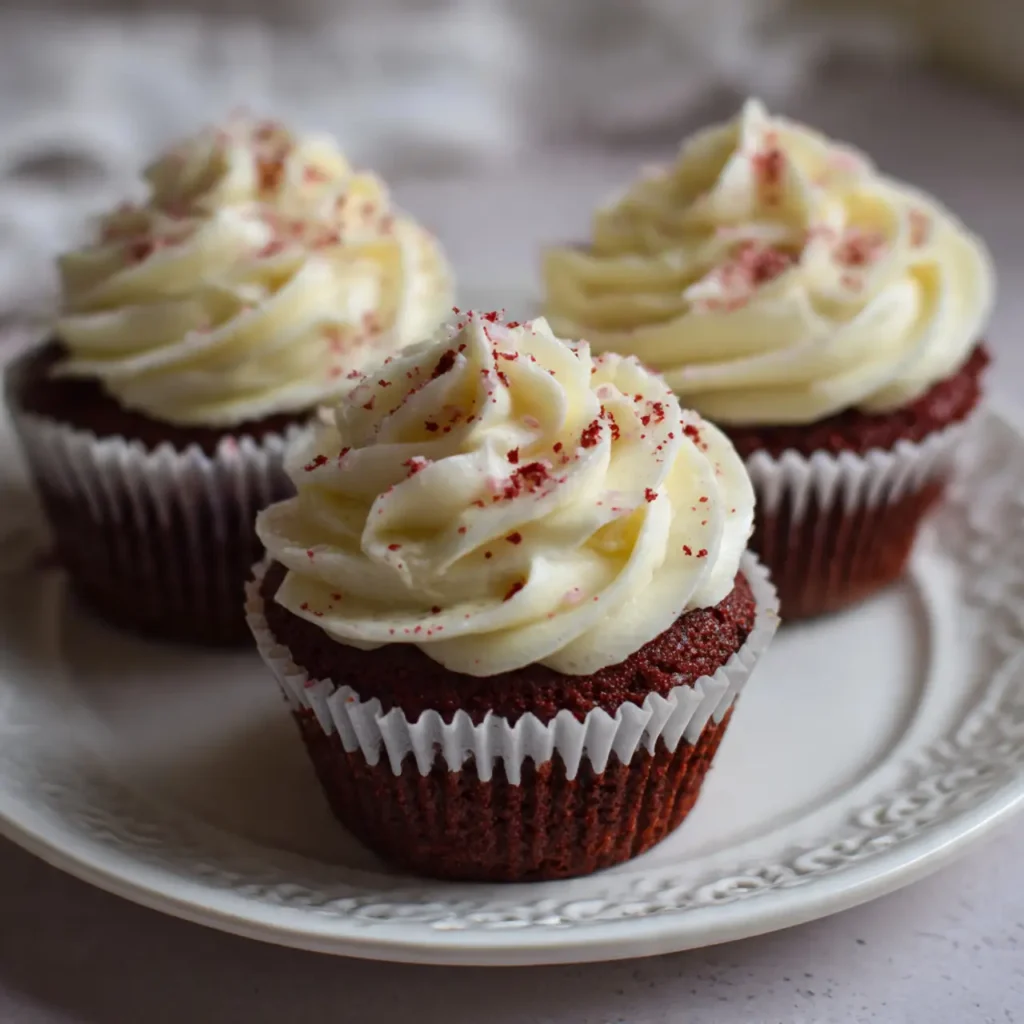
Step 10: Decorate
Pipe tall swirls using a star or round tip. Garnish with red sprinkles, crumbs from a cupcake top, or simple decorations for a clean, elegant finish.
Decorating
Red velvet cupcakes are as much about presentation as flavor. Here are decorating ideas suitable for holidays, parties, or classic everyday serving.
Classic Swirl
Pipe cream cheese frosting in a high swirl using a large round or star tip. Sprinkle lightly with red velvet crumbs for a vibrant contrast.
Minimalist Style
Spread frosting with a spatula for a smooth, clean finish. Add a single edible pearl or a dusting of powdered sugar.
Holiday Theme
Use red, white, and green sprinkles for Christmas cupcakes. For Valentine’s Day, heart-shaped sprinkles or pink-dyed frosting accents work beautifully.
Bakery-Style Finish
Pipe tall, structured swirls and add micro-sprinkles for a professional look. Display in cupcake wraps for extra polish.
Drizzle Finish
Drizzle with white chocolate or a simple vanilla glaze for added elegance.
Serving & Pairing Ideas
Red velvet cupcakes pair well with a wide range of beverages and desserts. These combinations elevate any gathering.
Coffee
A hot cup of coffee balances the sweetness of the frosting and enhances the cocoa notes.
Tea
Black tea, chai, or Earl Grey complements the flavor profile beautifully.
Milk
A classic pairing that appeals to both kids and adults.
Fruit Garnishes
Serve alongside fresh berries or sliced strawberries for color and contrast.
Dessert Tables
Add them to a dessert platter with chocolate cookies, cream puffs, or mini cheesecakes.
Ice Cream Pairing
Vanilla ice cream works especially well with freshly baked cupcakes.
Storage Tips
Red velvet cupcakes remain moist and tender when stored correctly.
Room Temperature
Store unfrosted cupcakes in an airtight container for up to 48 hours.
Refrigeration
Once frosted with cream cheese frosting, store cupcakes in the refrigerator for up to 4–5 days. Bring to room temperature before serving to restore their softness.
Freezing
Freeze unfrosted cupcakes for up to three months. Thaw at room temperature and frost fresh.
Frosting Storage
Cream cheese frosting can be made ahead and stored in the refrigerator for up to a week. Re-whip before using.
FAQ
What makes red velvet cupcakes different from chocolate cupcakes?
Red velvet uses only a small amount of cocoa powder. The tang from buttermilk and vinegar creates a unique flavor and texture unlike traditional chocolate cupcakes.
Can I make red velvet cupcakes without food coloring?
Yes, the cupcakes will still be delicious, but they’ll be brown rather than red. You can also use natural colorings like beet powder.
Why did my cupcakes sink?
This can happen from underbaking, opening the oven early, or overmixing the batter.
Can I make these ahead for parties?
Yes. Bake the cupcakes a day ahead, store airtight, and frost the day you serve them.
How do I get bakery-style frosting swirls?
Use a large piping bag fitted with a star or round tip, and pipe in a tall circular motion starting from the outer edge.
Conclusion
Red velvet cupcakes are a timeless favorite for good reason. Their striking color, velvety texture, and smooth cream cheese frosting make them a standout dessert for any occasion. With the right techniques and ingredients, you can create cupcakes that taste as beautiful as they look.
Whether you’re baking for a holiday, a celebration, or a quiet weekend treat, this recipe gives you everything you need for perfectly fluffy, moist, and irresistible red velvet cupcakes. Don’t hesitate to experiment with decorating themes, shapes, or toppings to make them uniquely your own.
If you enjoyed this recipe, explore more ideas and baking guides across the site, such as:
[Check out our Black Velvet Cake Recipe]
For more recipes Follow in facebook